Category: Learn

  • Building Your First Website with WordPress and Elementor: Choosing and Installing a Theme

    Building Your First Website with WordPress and Elementor: Choosing and Installing a Theme

    Guide for Choosing and Installing a WordPress Theme

    Section 5: Choosing and Installing a Theme (5 minutes)

    What is a Theme?

    “Now that we’ve set up our WordPress site with the basic configurations, it’s time to focus on the appearance of your website. This is where themes come into play.

    • Definition:
      • A WordPress theme is a collection of templates and stylesheets that define the visual appearance and layout of your website.
      • It controls aspects like colors, fonts, page layouts, and overall styling.
    • Purpose:
      • Themes allow you to change the look and feel of your site without altering the underlying content or functionality.
      • They provide a foundation for your site’s design, which you can further customize to match your brand or personal style.
    • Flexibility:
      • With thousands of free and premium themes available, you can choose one that fits your specific needs.
      • Themes cater to various industries and design preferences, from minimalist blogs to feature-rich e-commerce sites.

    Why Choose ‘Hello Elementor’ Theme?

    • Optimized for Elementor:
      • ‘Hello Elementor’ is a lightweight, minimalist theme developed by the Elementor team.
      • It’s designed to work seamlessly with the Elementor page builder, providing a blank canvas for your creativity.
    • Performance:
      • Being extremely lightweight, it improves your site’s loading times, enhancing user experience and SEO performance.
    • Customization:
      • It allows you to build every part of your site using Elementor, giving you complete design freedom without unnecessary bloat.

    Installing the ‘Hello Elementor’ Theme

    “Let’s walk through the steps to install and activate the ‘Hello Elementor’ theme on your WordPress site.

    Step 1: Navigate to the Themes Section

    • From your WordPress Dashboard, go to ‘Appearance’ > ‘Themes’.
      • This page displays all the themes currently installed on your site.
      • You’ll notice a few default themes provided by WordPress.

    Step 2: Add a New Theme

    • Click on the ‘Add New’ button located at the top of the Themes page.
      • This takes you to the WordPress Theme Directory, where you can search and install themes directly from your dashboard.

    Step 3: Search for ‘Hello Elementor’

    • In the ‘Search themes…’ field on the right side, type ‘Hello Elementor’.
      • The ‘Hello Elementor’ theme should appear in the search results.
      • You can identify it by its simple design and the Elementor logo.

    Step 4: Install the Theme

    • Hover over the ‘Hello Elementor’ theme thumbnail.
      • You’ll see two options: ‘Preview’ and ‘Install’.
    • Click the ‘Install’ button.
      • WordPress will download and install the theme onto your site.
      • This process usually takes just a few seconds.

    Step 5: Activate the Theme

    • After the installation completes, the ‘Install’ button will change to an ‘Activate’ button.
      • Click ‘Activate’ to make ‘Hello Elementor’ your active theme.
    • Alternatively, you can return to ‘Appearance’ > ‘Themes’, find ‘Hello Elementor’ among your installed themes, and click ‘Activate’ there.

    Step 6: Verify Activation

    • Once activated, ‘Hello Elementor’ will appear as your current theme at the top of the Themes page.
      • You can click on ‘Customize’ to access the Theme Customizer, although with ‘Hello Elementor’, most customization is done using the Elementor page builder.

    Step 7: Optional – Delete Unused Themes

    • It’s good practice to delete any themes you’re not using to keep your site clean and secure.
      • In ‘Appearance’ > ‘Themes’, hover over any unused theme.
      • Click on ‘Theme Details’, then click the red ‘Delete’ button in the bottom right corner.

    Engagement Opportunity

    “Installing a theme is a significant step because it sets the visual tone for your entire website.

    • Reflect on Your Design Vision:
      • Consider the style and layout that best represent your brand or personal aesthetic.
      • Think about color schemes, typography, and the overall mood you want to convey.
    • Benefits of ‘Hello Elementor’:
      • Its minimalist approach means there are no design constraints, allowing you to build your site exactly as you envision with the Elementor page builder.
      • It’s an excellent choice for beginners and professionals who want full control over their site’s design.

    Personal Insights

    “For our Applegate Pumpkins website, choosing ‘Hello Elementor’ was a strategic decision.

    • Design Freedom:
      • It provides a blank canvas to create custom layouts that showcase the beauty of the Applegate Valley and the spirit of the harvest season.
    • Performance Advantage:
      • The theme’s lightweight nature ensures fast load times, which is crucial for keeping visitors engaged and improving search engine rankings.
    • Seamless Integration:
      • Since we’re using Elementor to design our pages, having a theme built by the same team ensures compatibility and a smoother design experience.

    Visual Demonstration

    “Let me show you how easy it is to install ‘Hello Elementor’:

    1. Navigate to Themes:
      • On the left-hand menu, click ‘Appearance’, then ‘Themes’.
    2. Add New Theme:
      • Click the ‘Add New’ button at the top.
    3. Search and Install:
      • In the search bar, type ‘Hello Elementor’.
      • Once it appears, click ‘Install’.
    4. Activate the Theme:
      • After installation, click ‘Activate’.
    5. Confirmation:
      • You’ll see a confirmation message, and ‘Hello Elementor’ will now be your active theme.

    Transition to Next Section

    “Great! We’ve successfully installed and activated the ‘Hello Elementor’ theme, setting the stage for designing our website.

    In the next section, we’ll install and activate the Elementor plugins, which will enable us to use the powerful drag-and-drop editor to build our pages with ease and creativity.

    Let’s move forward to unlock the full potential of Elementor and bring our website vision to life.”
  • Building Your First Website with WordPress and Elementor: Setting Up WordPress Site

    Building Your First Website with WordPress and Elementor: Setting Up WordPress Site

    Guide for setting up WordPress, plugins, and key settings.

    Section 4: Setting Up Your WordPress Site (5 minutes)

    General Settings

    “Now that we’ve installed WordPress and are familiar with the dashboard, let’s configure some essential settings to personalize your site and ensure it functions correctly.

    Step 1: Access General Settings

    • In the WordPress Dashboard, navigate to ‘Settings’ > ‘General’.

    Step 2: Update Site Title, Tagline and SSL

    • Site Title:
      • This is the name of your website and appears in the browser title bar and in various locations depending on your theme.
      • For our demonstration, the site title is ‘Applegate Pumpkins’.
      • Update the Site Title:
        • Click on the ‘Site Title’ field and enter ‘Applegate Pumpkins’ (or your own site name).
    • Tagline:
      • A brief description or slogan that complements your site title.
      • It often appears in the header or footer of your site, depending on your theme.
      • Update the Tagline:
        • In the ‘Tagline’ field, enter a concise description of your site.
        • Example: ‘Organic Pumpkins, Grown with Love in Applegate Valley’.
    • SSL:
      • This is the where we can change the website to always encrypt traffic to the
      • Update the Site Address to SSL:
        • WordPress Address (URL)
        • Site Address (URL)

    Step 3: Set Timezone and Date Formats

    • Timezone:
      • Setting the correct timezone ensures that your posts and pages display the correct publication times.
      • It’s also important for scheduling posts and managing time-sensitive content.
      • Update Timezone:
        • Scroll down to the ‘Timezone’ section.
        • Select your city or the nearest city in your timezone from the dropdown menu.
        • For example, if you’re in the Pacific Time Zone, you might select ‘Los Angeles’.
    • Date Format:
      • Choose how dates will appear on your site.
      • Update Date Format:
        • Under ‘Date Format’, select your preferred format.
        • You can choose one of the common options or enter a custom format.
        • Example: ‘F j, Y’ which displays as ‘October 15, 2023’.
    • Time Format:
      • Choose how times will appear on your site.
      • Update Time Format:
        • Under ‘Time Format’, select your preferred format.
        • Example: ‘g:i a’ which displays as ‘3:30 pm’.
    • Week Starts On:
      • Set the first day of the week for your site. This affects calendar widgets and other date-related functions.
      • Update Week Starts On:
        • Choose ‘Monday’ or ‘Sunday’ based on your preference.

    Step 4: Save Changes

    • After updating the settings, click the ‘Save Changes’ button at the bottom of the page to apply the updates.

    Permalinks Settings

    “Next, we’ll configure the permalinks settings to ensure your site’s URLs are SEO-friendly and easy for visitors to read.

    What Are Permalinks?

    • Permalinks are the permanent URLs to your posts, pages, and other content on your site.
    • Choosing a clear and descriptive permalink structure improves SEO and user experience.

    Step 1: Access Permalink Settings

    • In the WordPress Dashboard, navigate to ‘Settings’ > ‘Permalinks’.

    Step 2: Choose an SEO-Friendly URL Structure

    • You’ll see several options for permalink structures:
      • Plain: Default option with query strings (e.g., ‘?p=123’).
      • Day and Name: Includes the date and post name (e.g., ‘/2023/10/15/sample-post/’).
      • Month and Name: Includes the month and post name (e.g., ‘/2023/10/sample-post/’).
      • Numeric: Uses the post ID in the URL.
      • Post Name: Includes only the post name (e.g., ‘/sample-post/’).
      • Custom Structure: Allows you to define a custom URL structure.
    • Recommended Option:
      • Select ‘Post Name’:
        • This structure is clean, simple, and includes keywords from your post titles.
        • It’s user-friendly and preferred by search engines.

    Step 3: Save Changes

    • After selecting ‘Post Name’, click the ‘Save Changes’ button at the bottom of the page.

    Note:

    • Changing permalinks on an established site can cause broken links. Since we’re setting this up on a new site, it’s the perfect time to configure this setting.

    Engagement Opportunity

    “Configuring these settings may seem minor, but they have a significant impact on your site’s professionalism and accessibility.

    • Site Title and Tagline:
      • Think about how you want your site to be perceived.
      • A compelling tagline can engage visitors and convey your site’s purpose immediately.
    • Timezone and Date Formats:
      • Ensure your content scheduling aligns with your local time.
      • This is particularly important if you plan to publish content regularly or have events.
    • Permalinks:
      • An SEO-friendly URL structure helps search engines index your content effectively.
      • It also makes your URLs more readable and shareable.

    Personal Insights

    “For Applegate Pumpkins, setting the site title and tagline helps visitors immediately understand the site’s focus on celebrating the harvest in our local community.

    By choosing the ‘Post Name’ permalink structure, our blog posts and pages will have clean, descriptive URLs like ‘applegatepumpkins.com/fall-festival/’, which is both user-friendly and good for SEO.

    Transition to Next Section

    “With these foundational settings in place, our WordPress site is now personalized and optimized for both visitors and search engines. Next, we’ll choose and install a theme to define our site’s appearance. We’ll be using the ‘Hello Elementor’ theme, which integrates seamlessly with Elementor and provides a flexible foundation for our design.”

  • Building Your First Website with WordPress and Elementor: Installing WordPress

    Building Your First Website with WordPress and Elementor: Installing WordPress

    Guide for installing WordPress via RunCloud and manually.

    Section 3: Installing WordPress (10 minutes)

    One-Click Installation with RunCloud

    “Now that we’ve selected our domain and hosting, it’s time to install WordPress. Since I’m using RunCloud to manage our server for this demonstration, I’ll show you how to install WordPress using RunCloud’s interface.

    Demonstration: Installing WordPress with RunCloud

    Step 1: Log In to RunCloud Dashboard

    • Navigate to manage.runcloud.io and log in to your account.

    Step 2: Create a New Web Application

    • In the RunCloud dashboard, select your server from the list.
    • Click on ‘Web Applications’ in the left-hand menu.
    • Click the ‘Create Web Application’ button.

    Step 3: Configure Your Web Application

    • Domain Name: Enter your domain name, e.g., applegatepumpkins.com.
    • Web Application Name: This can be the same as your domain or any identifier you prefer.
    • Web Application Type: Select ‘WordPress’ from the dropdown menu. This will automate the WordPress installation process.
    • System User: Use the default user or create a new one if you prefer.

    Step 4: Install WordPress

    • Review your settings and click ‘Add Web Application’.
    • RunCloud will now set up the web application and install WordPress automatically.

    Step 5: Advanced Options

    • Enable SSL Certificate: You can set up an SSL certificate now or later. For this demonstration, we’ll use the default options.

    Step 6: Site Information

    • Site Title: Enter Applegate Pumpkins.
    • Username: Create an admin username (avoid using ‘admin’ for security reasons).
    • Password: Generate a strong password.
    • Your Email: Enter your email address.
    • Click ‘Deploy applegatepumpkins’.

    Step 7: Access Your WordPress Site

    • Once the installation is complete, you can access your site by navigating to applegatepumpkins.com in your web browser.
    • This is the default WordPress theme Twenty Twenty-Four. Yay! It looks like everything is working.

    Manual Installation (Simplified Overview)

    “While we used RunCloud’s automated process to install WordPress, it’s helpful to understand the basic steps involved in a manual installation, even if we won’t go into much detail.

    Simplified Steps for Manual Installation:

    1. Download WordPress:
      • Go to wordpress.org and download the latest version of WordPress.
    2. Upload Files to Server:
      • Use the webhosts File Manager or an FTP client to upload the WordPress files to your web application’s root directory.
    3. Create a Database:
      • Click on ‘Database’ and create a new database.
      • Note down the database name, username, and password.
    4. Configure wp-config.php:
      • Rename wp-config-sample.php to wp-config.php.
      • Edit the file to include your database details.
      • Save the changes.
    5. Run the WordPress Installation Script:
      • Navigate to yourdomain.com in your web browser.
      • Follow the on-screen instructions to complete the setup.

    Why Understand Manual Installation?

    • Awareness: Knowing these steps gives you a deeper understanding of how WordPress works.
    • Troubleshooting: It can help you diagnose issues that may arise during installation or updates.
    • Flexibility: Allows for custom configurations not available through automated installers.

    Exploring the WordPress Dashboard

    “With WordPress installed, let’s log in to the WordPress Dashboard and familiarize ourselves with its key sections.

    Accessing the Dashboard:

    • Go to Applegatepumpkins/wp-admin.
    • Enter your admin username and password.
    • Click ‘Log In’.

    Dashboard Overview:

    1. Dashboard Home:
      • At a Glance: Provides an overview of your site’s content and WordPress version.
      • Activity: Shows recent posts, comments, and other activities.
      • Quick Draft: Allows you to quickly write a new post draft.
    2. Posts:
      • All Posts: View, edit, or delete existing blog posts.
      • Add New: This is where you would create a new blog post.
      • Categories and Tags: Organize your posts for better navigation and SEO.
    3. Media:
      • Library: Manage your uploaded images, videos, and other media files.
      • Add New: Upload new media files.
    4. Pages:
      • All Pages: View, edit, or delete existing pages.
      • Add New: Create a new page (e.g., ‘About Us’, ‘Contact’).
    5. Comments:
      • Moderate comments left by visitors.
      • Approve, reply, edit, or mark comments as spam.
    6. Appearance:
      • Themes: Install, activate, or customize themes.
      • Customize: Access the Theme Customizer to adjust site identity, colors, menus, widgets, and more.
      • Widgets: Add content to sidebars, footers, or other widget-ready areas.
      • Menus: Create and manage navigation menus.
    7. Plugins:
      • Installed Plugins: View and manage installed plugins.
      • Add New: Install new plugins to extend your site’s functionality.
    8. Users:
      • All Users: Manage user accounts.
      • Add New: Create new users and assign roles (e.g., Administrator, Editor, Author).
      • Your Profile: Edit your personal profile settings.
    9. Tools:
      • Available Tools: Access tools like category and tag converters.
      • Import/Export: Import content from other platforms or export your site’s content.
    10. Settings:
      • General: Set site title, tagline, WordPress address, admin email, timezone.
      • Writing, Reading, Discussion: Configure post settings, homepage display, and comment settings.
      • Media: Define default image sizes.
      • Permalinks: Customize URL structures for posts and pages.

    Live Walkthrough:

    • Dashboard Home:
      • Highlight the ‘At a Glance’ section showing your site’s basic info.
      • Point out the ‘Site Health Status’ for important notifications.
    • Creating a New Post:
      • Navigate to Posts > Add New.
      • Briefly demonstrate the Gutenberg block editor interface.
    • Media Library:
      • Show how to upload images.
      • Discuss the importance of alt text for accessibility and SEO.
    • Customizing Appearance:
      • Go to Appearance > Themes.
      • Show the default themes and explain that we’ll be installing ‘Hello Elementor’ in the next section.

    Tips:

    • Help and Screen Options:
      • Point out the ‘Help’ and ‘Screen Options’ tabs at the top-right corner for additional guidance and customization.
    • User Roles:
      • Explain the different user roles and their permissions, which is important if others will contribute to your site.

    Engagement Opportunity:

    “Consider how you’ll use these features for your own website. For example, if you’re planning a blog, you’ll spend a lot of time in the Posts section. If you’re showcasing photography, the Media and Pages sections will be crucial.”

    Transition to Next Section:

    “Now that WordPress is installed using RunCloud and we’re comfortable navigating the dashboard, it’s time to configure some essential settings and choose a theme that will define our site’s look and feel. In the next section, we’ll set up our site information and install the ‘Hello Elementor’ theme to prepare for designing our pages with Elementor.”

  • Building Your First Website with WordPress and Elementor: Understanding Domains and Hosting

    Building Your First Website with WordPress and Elementor: Understanding Domains and Hosting

    Guide on domains and hosting explained.Section 2: Understanding Domains and Hosting (5 minutes)

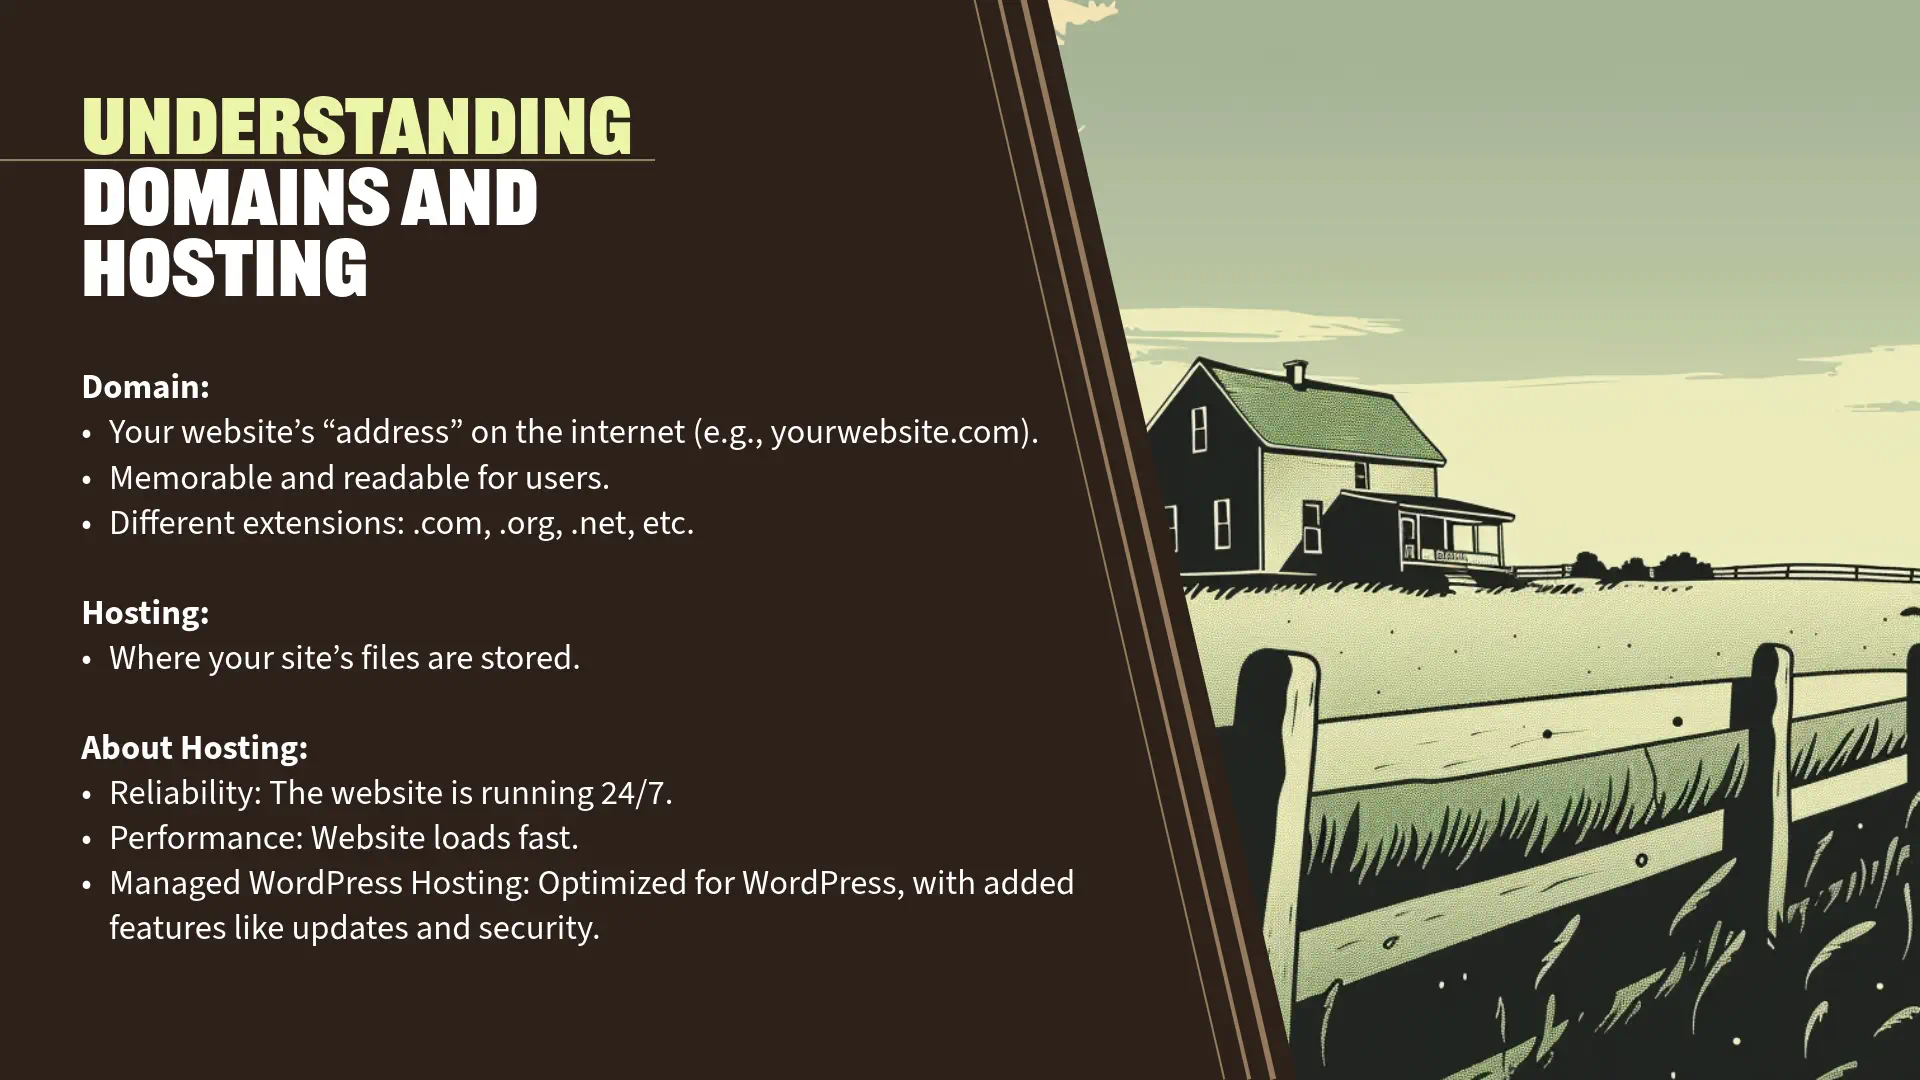
    What is a Domain?

    “Let’s begin with the concept of a domain name. Think of the domain as your website’s street address on the internet—it tells people where to find you.

    • Definition: A domain is the unique name that appears in a URL to identify a website. For example, in www.yourwebsite.com, ‘yourwebsite.com’ is the domain name.
    • Purpose: It serves as a memorable and readable way for users to access your website, rather than using an IP address, which is a string of numbers.
    • Extensions: Domains come with various extensions like .com, .org, .net, .io, and many more. Each can serve different purposes, but .com is the most widely recognized.”

    What is Hosting?

    Next, let’s talk about web hosting, the foundation that allows your website to be accessible on the internet.

    • Definition: Hosting is a service that stores all your website’s files, images, and content on a server connected to the internet. When someone types your domain name into their browser, the internet connects to the server hosting your site and delivers your web pages to them.
    • Types of Hosting Services:
      • Shared Hosting: Your website shares server resources with other sites—cost-effective but can be slower during high traffic.
      • Virtual Private Server (VPS): Offers dedicated portions of a server’s resources—better performance than shared hosting.
      • Dedicated Hosting: An entire server dedicated to your website—ideal for large websites with high traffic.
      • Managed WordPress Hosting: Specifically optimized for WordPress sites, often includes additional services like automatic updates and enhanced security.
    • Why Hosting Matters:
      • Performance: A reliable host ensures your website loads quickly, enhancing user experience.
      • Uptime: Refers to the time your website is online and accessible—look for hosts that guarantee at least 99.9% uptime.
      • Security: Good hosting providers offer security features like SSL certificates, malware scanning, and automatic backups.”

    Choosing a Domain and Hosting Provider

    “Selecting the right domain name and hosting provider is crucial for your website’s success. Here are some tips to guide you:

    Tips for Choosing a Domain Name:

    1. Keep It Simple and Memorable:
    2. Reflect Your Brand or Purpose:
      • The name should give visitors an idea of what your website is about.
      • If your site is about photography, a domain like www.lensview.com could be fitting.
    3. Choose the Right Extension:
      • .com is the most popular and easiest to remember.
      • Consider other extensions if the .com version is not available, but ensure it suits your site’s purpose.
    4. Avoid Numbers and Hyphens:
      • These can confuse users and are harder to convey verbally.

    Tips for Selecting a Hosting Provider:

    1. Reliability and Uptime:
      • Opt for providers with a proven track record of high uptime (99.9% or higher).
      • Read customer reviews to gauge reliability.
    2. Security Features:
      • Look for features like SSL certificates, firewalls, and regular malware scans.
      • Regular backups are essential in case you need to restore your site.
    3. Customer Support:
      • 24/7 customer support can be invaluable, especially when issues arise.
      • Support through multiple channels (live chat, email, phone) is a plus.
    4. Scalability:
      • Choose a host that can grow with you. As your website gains more traffic, you’ll need more resources.
    5. Performance Enhancements:
      • Providers that offer solid-state drives (SSDs) and caching can improve your site speed.
      • Integration with Content Delivery Networks (CDNs) like Cloudflare can further enhance performance.
    6. Pricing and Value for Money:
      • Compare what’s included in the price—sometimes paying a little more gets you significant benefits.
      • Be cautious of low initial prices that skyrocket upon renewal.

    Our Recommendations:

    • Elementor Hosting Basic Plan:
      • When you build your own website, I recommend starting with the Elementor Hosting Basic Plan.
      • Benefits:
        • All-in-One Solution: Includes hosting with WordPress pre-installed.
        • Optimized for Elementor: Ensures compatibility and smooth performance.
        • Beginner-Friendly: Simplifies the setup process, allowing you to focus on building your website without managing server configurations.
    • Cloudflare Integration:
      • We recommend integrating Cloudflare to enhance your website’s security and speed.
      • Features:
        • Content Delivery Network (CDN): Distributes your content across global servers, reducing load times for international visitors.
        • DDoS Protection: Protects your site from malicious attacks.
        • SSL/TLS Encryption: Encrypts data between your site and its visitors, building trust and improving SEO.

    Personal Insights:

    “For this presentation, I’m using Popproxx web hosting that’s built on RunCloud to self-host our demonstration website. This setup provides me with the flexibility and control needed for our session today.

    When choosing a domain name for the presentation, I wanted something that would resonate with all of you and be easy to remember. Since we’re in the Applegate Valley and it’s October—a time when pumpkins are everywhere—I decided to go with applegatepumpkins.com.

    Selecting applegatepumpkins.com serves a couple of purposes:

    • Local Connection: It reflects our beautiful Applegate Valley, making it relatable to our community.
    • Seasonal Relevance: October is synonymous with pumpkins, adding a timely and festive touch.

    This choice demonstrates how you can pick a domain that’s both meaningful and memorable for your audience. It ties in the local flavor and the season, making it more engaging for visitors.

    While I’m using a self-hosted solution with Popproxx and RunCloud for this demonstration, I recommend starting with the Elementor Hosting Basic Plan when you build your own website. It’s an all-in-one solution that’s beginner-friendly, includes hosting with WordPress pre-installed, and is optimized for use with Elementor. This makes it a great choice to get you up and running quickly without the need to manage your own hosting environment.”

    Engagement Opportunity:

    “Think about what you might name your own website. Is there something unique about your location, interests, or the time of year that you could incorporate into your domain name? While we won’t be registering domains today, it’s a great exercise to start considering your options and see how they can make your site more personal and engaging.”

    Transition to Next Section:

    “Now that we’ve discussed the essentials of domains and hosting and I’ve shared how I’m using applegatepumpkins.com for our demonstration, we’re ready to move on to setting up WordPress. In the next section, I’ll show you how to get WordPress up and running quickly. We’ll use my self-hosted setup for the demonstration, but remember that the Elementor Hosting Basic Plan can simplify this process when you’re building your own site.”

  • Building Your First Website with WordPress and Elementor: Welcome and Agenda

    Building Your First Website with WordPress and Elementor: Welcome and Agenda

    Creating Websites with WordPress and Elementor Guide.

    Section 1: Introduction (5 minutes)


    Welcome and Agenda

    Greet the Participants:

    “Hello everyone! Welcome to our class on ‘Building Your First Website with WordPress and Elementor.’ I’m Jamin Giersbach, and I’m excited to have you join me today. Over the next hour, I’ll be demonstrating how to build a website from scratch using WordPress and Elementor. Whether you’re aiming to start a personal blog, showcase your portfolio, or establish an online presence for your business, this session will provide you with the foundational knowledge to get started.”

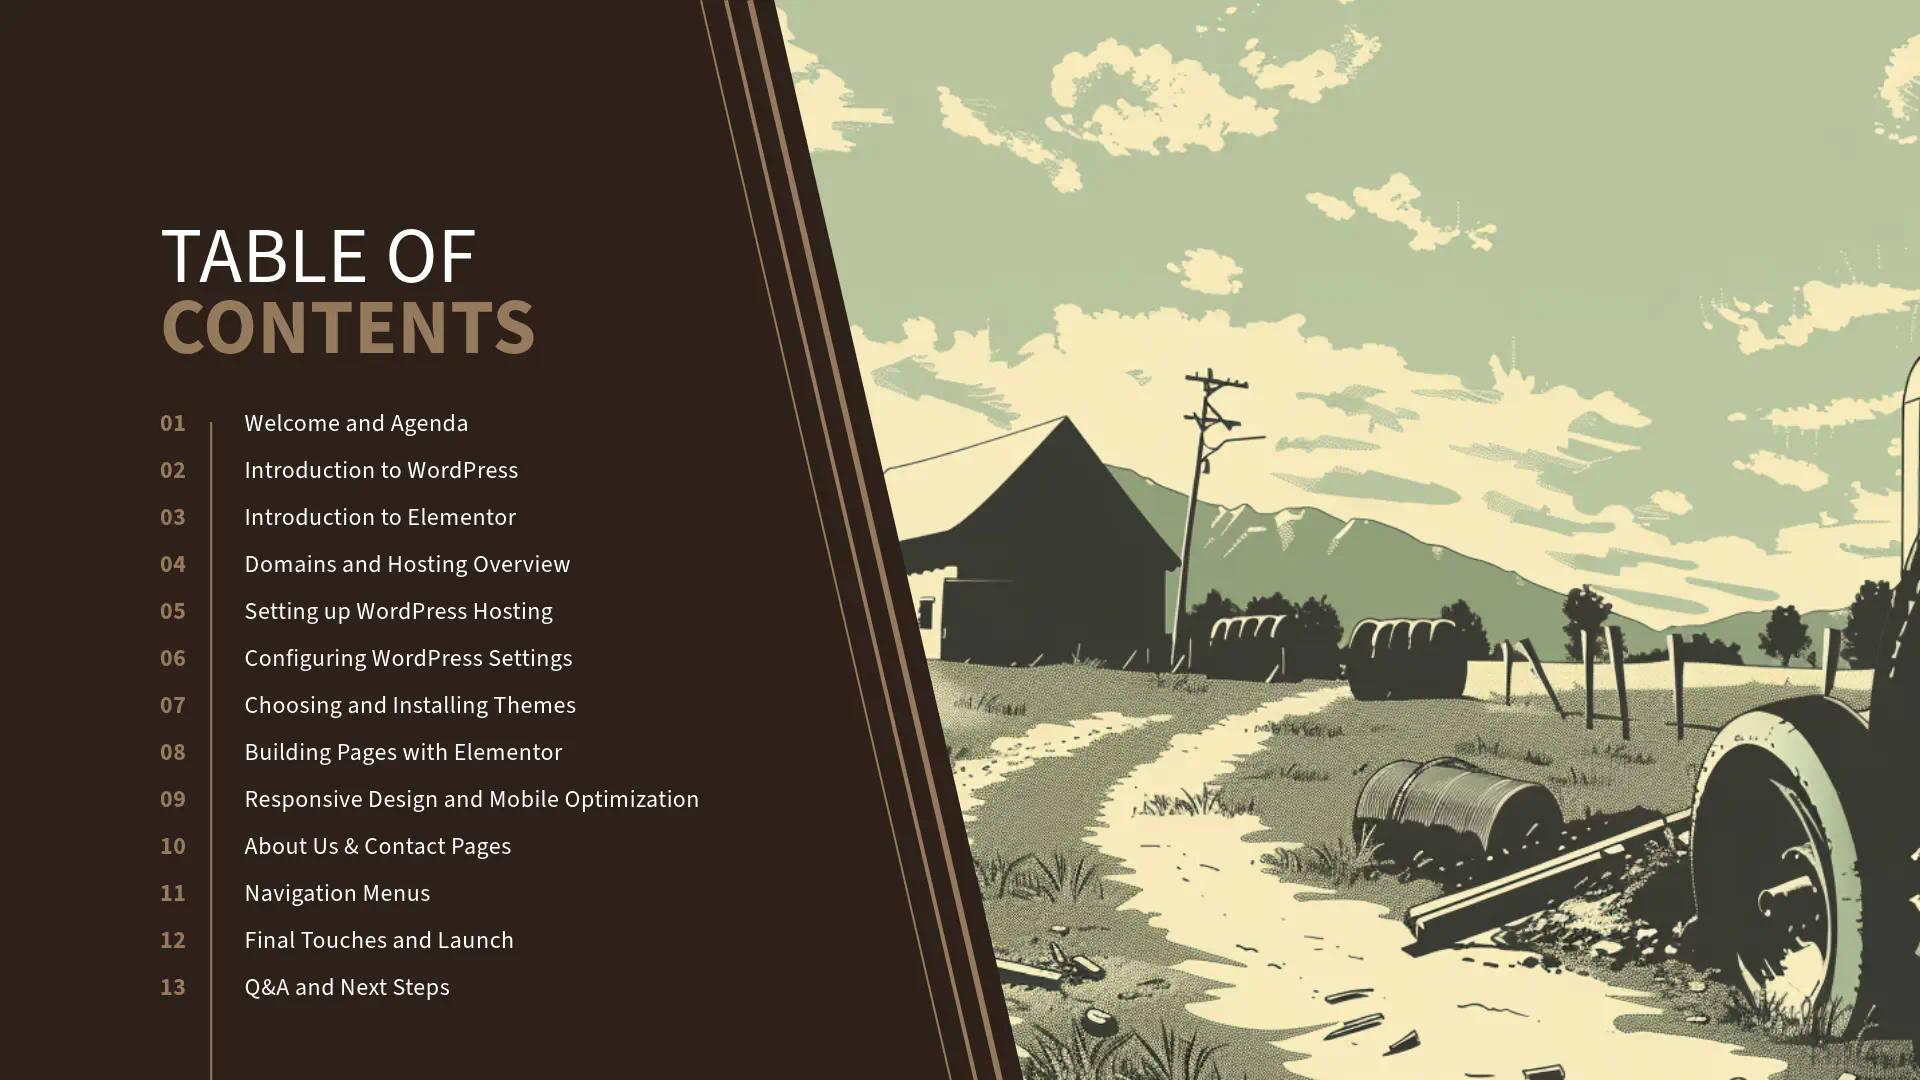
    Table of Contents for WordPress tutorialOutline What Will Be Covered:

    “Here’s what we’ll cover during this class:

    1. Introduction – We’ll begin with an overview of WordPress and Elementor.
    2. Understanding Domains and Hosting – Learn what they are and why they’re essential.
    3. Setting Up WordPress with Elementor Hosting – We’ll set up WordPress using the Elementor Hosting Basic Plan.
    4. Configuring Your WordPress Site – I’ll walk you through the key settings.
    5. Choosing and Installing a Theme – We’ll install the ‘Hello Elementor’ theme.
    6. Building Pages with Elementor – Watch as I create a homepage and additional pages using Elementor.
    7. Setting Up Navigation Menus – See how to create menus for easy site navigation.
    8. Final Touches and Launching Your Site – We’ll prepare the site for launch.
    9. Q&A and Next Steps – I’ll answer any questions you have and provide resources for further learning.

    By the end of this class, you’ll have seen the complete process of building a website using WordPress and Elementor, equipping you with the knowledge to start creating your own site when you’re ready.


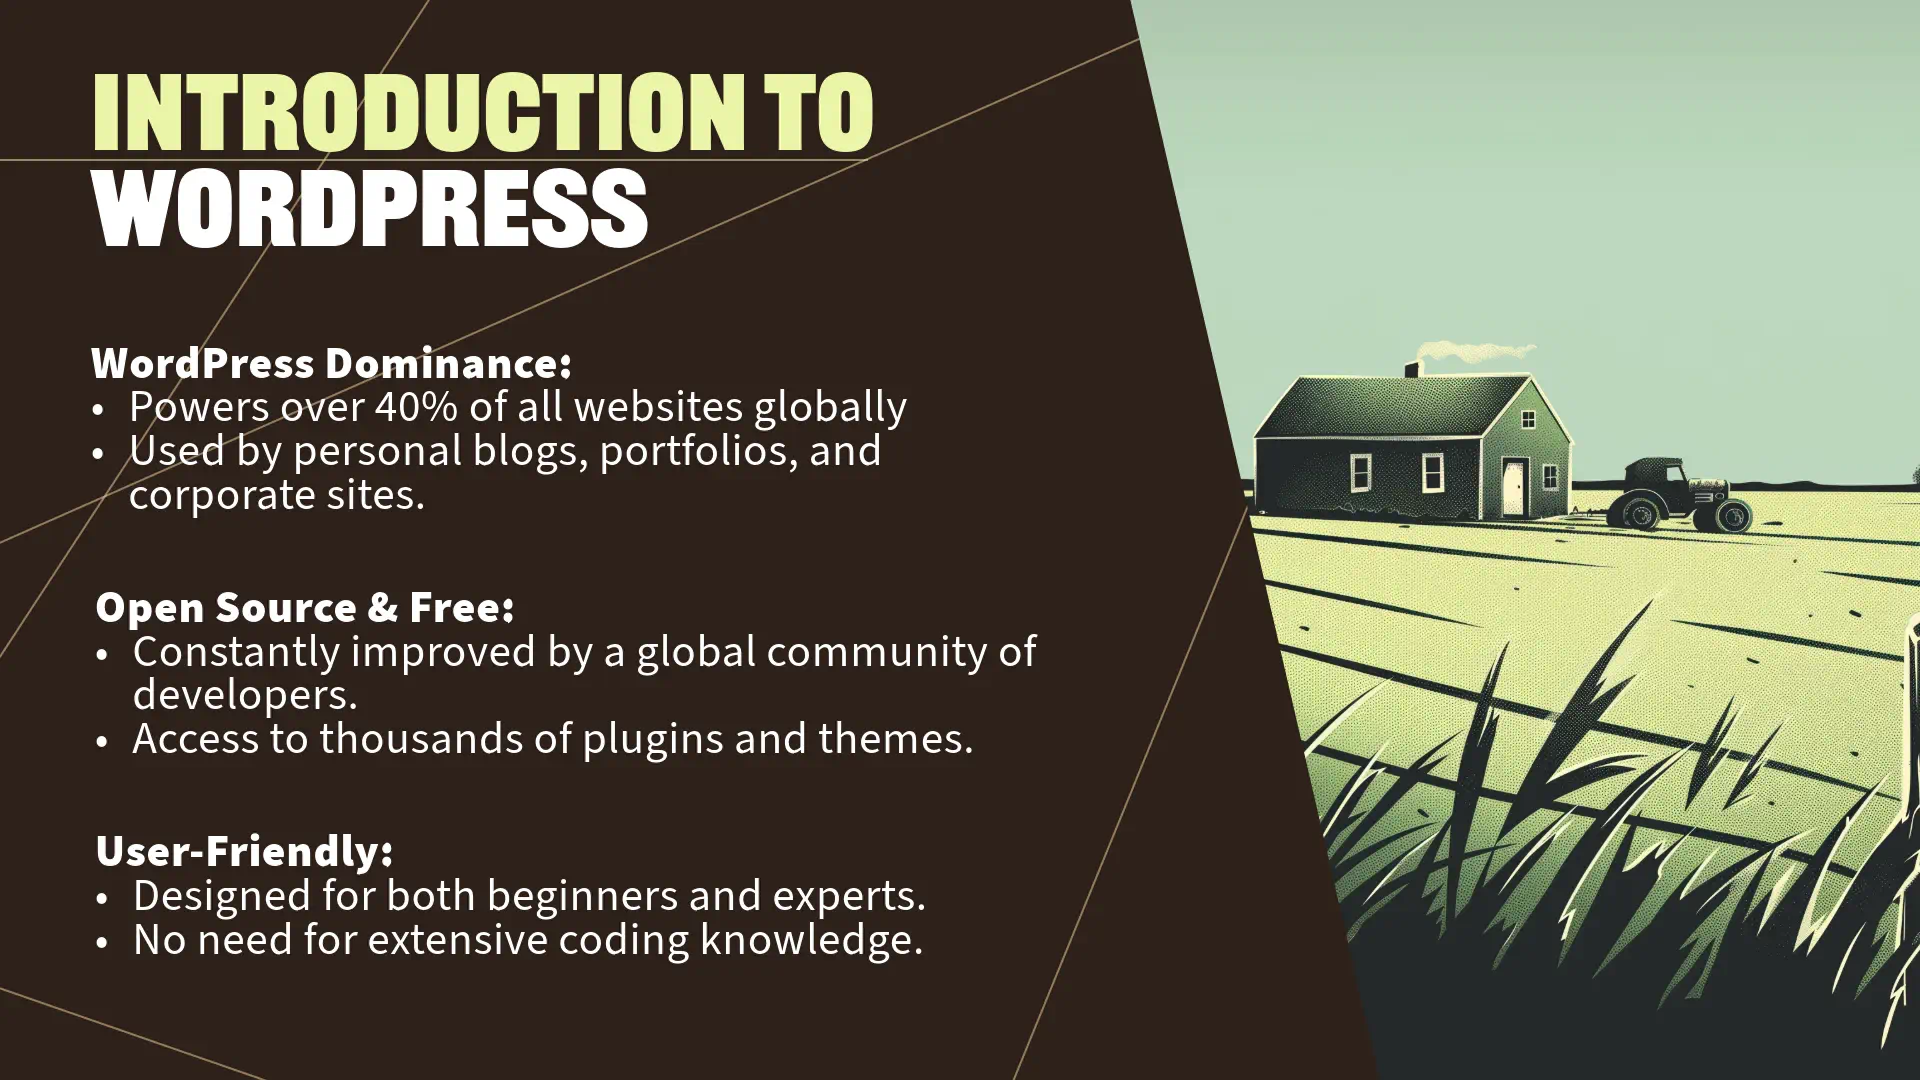
    Introduction to WordPress features overview.Facts about WordPress

    • Dominance in the Web World:

    “As of 2023, WordPress powers over 40% of all websites on the internet. That’s nearly half of the web! From personal blogs to major corporate sites, WordPress is the go-to platform for millions due to its flexibility and robust features.”

    • Open-Source and Free:

    “WordPress is an open-source Content Management System (CMS), which means it’s free to use and constantly improved by a global community of developers. This collaborative environment gives you access to thousands of plugins and themes to enhance your website’s functionality and appearance.”

    • User-Friendly:

    “Designed with both beginners and experts in mind, WordPress makes it easy to create and manage a website without needing extensive technical knowledge.”


    Introduction to Elementor page builder features.Facts about Elementor

    • Leading Page Builder:

    “Elementor is a powerful WordPress page builder with over 5 million active installations. It allows you to design custom web pages using a drag-and-drop interface, so you don’t need to know how to code to create a professional-looking website.”

    • Design Flexibility:

    “With Elementor, you can achieve pixel-perfect designs with ease. It offers a wide range of widgets and templates that cater to various design needs, making the creation process both intuitive and enjoyable.”

    • Elementor Hosting Basic Plan:

    “In this class, we’ll use the Elementor Hosting Basic Plan, which provides an all-in-one solution for beginners. It includes WordPress hosting and access to Elementor’s essential features, making it a convenient choice to get your website up and running quickly.”


    Setting Expectations

    “Throughout this session, I’ll be building a website step-by-step, and you’ll be able to watch the entire process. This approach allows you to focus on understanding each part without the pressure of following along simultaneously. I encourage you to take notes and think of questions you’d like to ask during our Q&A segment at the end.”


    Personalization Opportunity

    “Before we dive in, I’d like to share a bit about why I’m passionate about website building. [Insert a personal anecdote or experience that inspired you to teach this class.]

    I believe that anyone can create a beautiful and functional website with the right tools and guidance. My goal today is to demystify the process and inspire you to start your own website journey.”


    Transition to Next Section

    “Now that we’ve covered the basics of what WordPress and Elementor are and why they’re so widely used, let’s move on to understanding the foundational elements of any website: domains and hosting. I’ll explain what these terms mean, why they’re important, and how to select reliable services to ensure your website performs well and stays secure.”